
AI Prompts for ThePortraitOS Headshot Prompts: Professional AI Headshots That Look Real
20 of the best ThePortraitOS headshot prompts for professional AI headshots that look real, step by step across 4 stages. Works with ChatGPT, Claude, and Gemini.
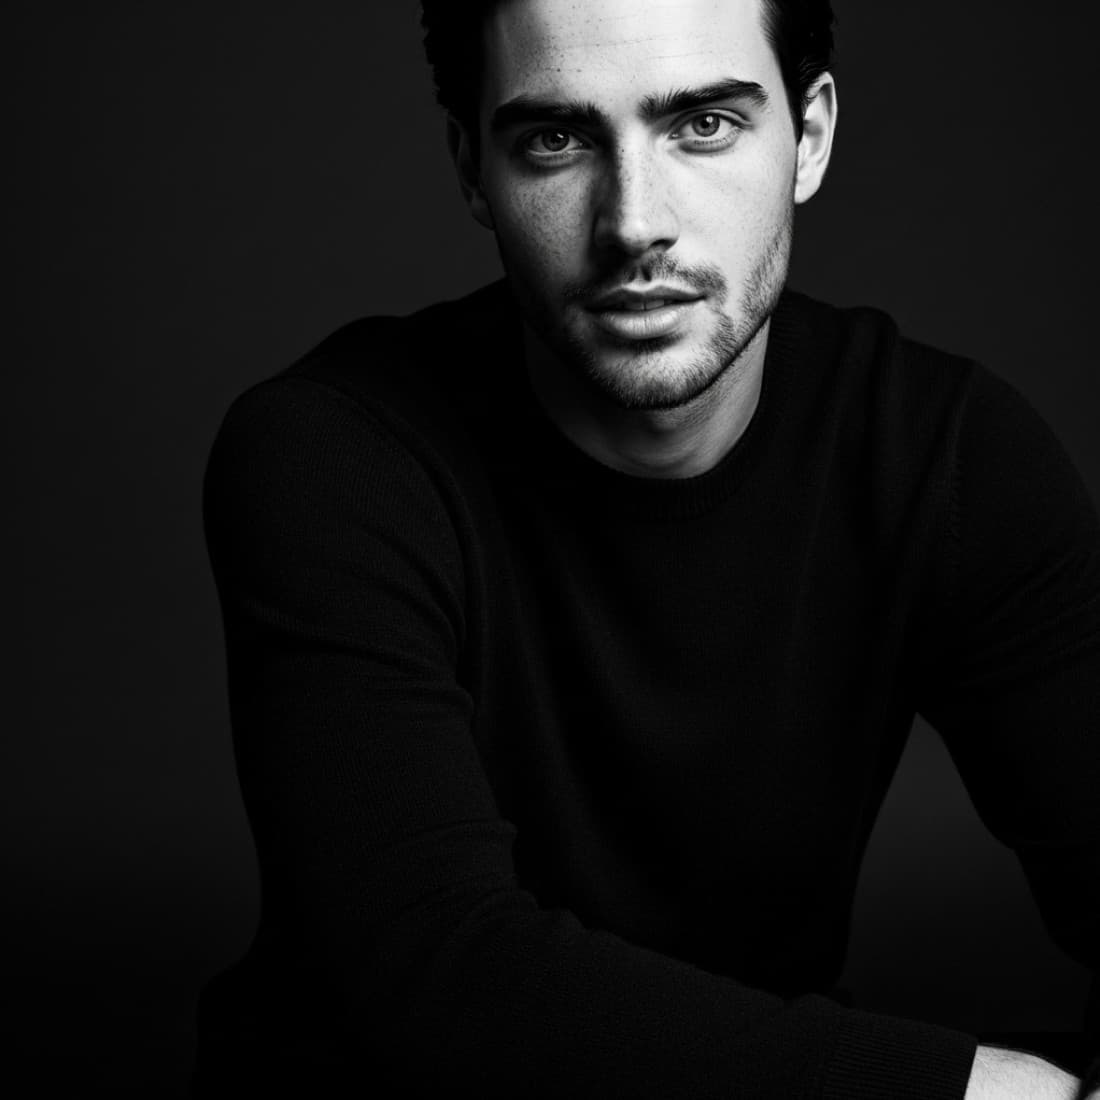
AI Prompts for ThePortraitOS Headshot Prompts: Professional AI Headshots That Look Real
20 of the best ThePortraitOS headshot prompts for professional AI headshots that look real, step by step across 4 stages. Works with ChatGPT, Claude, and Gemini.
ThePortraitOS is built specifically for professional AI headshots, which means it rewards prompts that speak the language of portrait photography: lens choice, lighting setup, wardrobe, and expression direction. Generic prompts produce generic corporate clones. These prompts give you the full professional headshot workflow: defining the image you want to project, generating headshots in the styles that perform best on LinkedIn and company sites, refining skin texture and lighting until the result passes as a real photo session, and adapting your final headshot for every platform that needs one. Built across 4 distinct stages covering Plan Your Professional Headshot Strategy, Generate Your Core Headshots, Refine Until It Passes as a Real Photo and more, this guide gives you one expert prompt per step so you never have to write from scratch or guess what the AI needs. The prompts work in ChatGPT, Claude, and Gemini and are designed to get usable output on the first try.

Plan Your Professional Headshot Strategy
A great headshot starts with a decision about what it should communicate before any generation begins. Approachable expert, senior authority, creative professional, and technical specialist each require different wardrobe, lighting, and expression choices. Lock the strategy first and every generated image gets dramatically better.
Define your professional image positioning
I am creating a professional AI headshot with ThePortraitOS and want to define my positioning before generating. My role is [YOUR ROLE], my industry is [INDUSTRY], and the people who will see this headshot are [AUDIENCE: RECRUITERS / CLIENTS / INVESTORS / CONFERENCE ORGANIZERS]. Help me decide: the single impression the headshot should create within two seconds (approachable expert / senior authority / creative professional / technical specialist), the wardrobe that signals this positioning in my industry without looking costume-like, the background environment that supports the impression (clean studio / softly blurred office / architectural / neutral gradient), and the expression and posture direction that matches. Summarize the decisions as a one-paragraph creative brief I will use to write every generation prompt.
Choose the right headshot style for your platform mix
I need professional headshots for [LIST PLATFORMS: LINKEDIN, COMPANY WEBSITE, CONFERENCE SPEAKER PAGE, PRESS KIT, EMAIL SIGNATURE]. For each platform, recommend the headshot style that performs best: crop (tight head-and-shoulders / half-body / environmental), wardrobe formality level, background treatment, expression (warm smile / confident neutral / engaged listening), and aspect ratio. Then identify the minimum number of distinct generations I need so that every platform is covered without reusing an obviously identical image, and which single "hero" style I should perfect first.
Audit your reference photos before uploading
ThePortraitOS works from reference photos of my face, and the quality of my references controls the quality of every generated headshot. I am about to upload [NUMBER] reference photos. Walk me through a reference photo audit: the angles and expressions my reference set must include for accurate likeness (front-facing, three-quarter, natural smile, neutral), the lighting conditions that help the model learn my face correctly, what to exclude (heavy filters, sunglasses, group crops, extreme angles, old photos that no longer look like me), and how many references produce the best likeness. Give me a checklist I can apply to my photo library in ten minutes.
Plan wardrobe and color for your headshot session
Help me plan the wardrobe specification for my ThePortraitOS headshot generation. My positioning is [FROM YOUR BRIEF: E.G. APPROACHABLE SENIOR CONSULTANT], my industry is [INDUSTRY], and my coloring is [DESCRIBE: SKIN TONE, HAIR COLOR]. Recommend: three specific wardrobe options described precisely enough to include in a generation prompt (garment, color, fit, texture, collar style), which colors photograph best against my likely background choice and which to avoid, whether accessories help or hurt at my seniority level, and the wardrobe details that make AI headshots look real rather than rendered (fabric texture, natural drape, imperfect collar).
Write your master headshot brief
Combine my decisions into a master headshot brief I can reuse across every ThePortraitOS generation. My positioning: [PASTE]. My platform mix: [PASTE]. My wardrobe choices: [PASTE]. Write the brief as a structured template with slots for: subject description, wardrobe, background environment, lighting setup, lens and depth of field, expression and posture, and style parameters. Format it so I can copy the template, fill one variable, and generate a consistent series where every image obviously belongs to the same professional.
Generate Your Core Headshots
These are complete generation prompts in the format that produces the most realistic professional results: specific lens language, directional lighting, precise wardrobe, and controlled expression. Replace the bracketed variables and generate.
Generate the classic LinkedIn headshot
Professional LinkedIn headshot of [REFERENCE IMAGE], [GENDER] [ROLE] aged [AGE] with confident approachable presence, wearing [WARDROBE: E.G. NAVY BLAZER OVER WHITE CREW-NECK TEE] with modern professional styling, soft directional lighting with key light at 45 degrees creating natural shadow falloff on far side of face, subtle fill light maintaining detail in shadows, rim lighting for subject separation from background, shot with 85mm lens at f/2.8, shallow depth of field, clean neutral studio background with soft gradient, corporate photography style, warm confident expression with direct eye contact, relaxed professional posture, head-and-shoulders crop --ar 1:1
Generate the executive authority headshot
Executive portrait of [REFERENCE IMAGE], senior [ROLE] with composed leadership presence, wearing [WARDROBE: E.G. CHARCOAL TAILORED SUIT, NO TIE] with precise fit, dramatic low-key lighting with strong key light sculpting facial structure, controlled shadows adding depth and gravitas, shot with 85mm lens at f/2.0, sharp focus on eyes, dark neutral background with subtle vignette, premium editorial photography style, calm authoritative expression with steady eye contact, upright confident posture, chest-up crop --ar 4:5
Generate the approachable creative headshot
Contemporary professional portrait of [REFERENCE IMAGE], [ROLE] in a creative field with open engaging presence, wearing [WARDROBE: E.G. TEXTURED KNIT SWEATER IN WARM NEUTRAL TONE], bright natural window lighting from camera left creating soft luminous skin tones, gentle fill from white surface on shadow side, shot with 50mm lens at f/2.2, softly blurred modern workspace background with plants and warm wood elements, lifestyle editorial photography style, genuine relaxed smile with warm eye contact, slightly angled shoulders for natural energy, head-and-shoulders crop --ar 1:1
Generate the speaker and press headshot
Professional speaker headshot of [REFERENCE IMAGE], [ROLE] and conference speaker with dynamic credible presence, wearing [WARDROBE] with polished styling, clean three-point studio lighting with balanced key and fill for even magazine-quality skin rendering, crisp rim light separating subject from background, shot with 85mm lens at f/4 for edge-to-edge sharpness, solid [COLOR: MID-GRAY OR BRAND COLOR] seamless background suitable for press use and cutouts, editorial press photography style, engaged confident expression as if mid-conversation with an audience, energetic upright posture, chest-up crop with headroom for cropping flexibility --ar 4:5
Generate the environmental workplace portrait
Environmental professional portrait of [REFERENCE IMAGE], [ROLE] photographed in [SETTING: MODERN OFFICE, STUDIO, WORKSHOP, LAB] with authentic in-context presence, wearing [WARDROBE], natural ambient lighting mixed with soft key light on face, background showing depth of the real workspace softly blurred at f/2.0, shot with 50mm lens from slightly below eye level for quiet authority, documentary editorial photography style, focused natural expression as if pausing during real work, believable working posture with hands visible [ON DESK / HOLDING TOOL], half-body crop --ar 3:4
Refine Until It Passes as a Real Photo
The difference between an obvious AI headshot and one that reads as a professional studio session is in the refinement pass: skin texture, lighting believability, likeness accuracy, and the removal of telltale AI artifacts.
Diagnose why a generation looks AI-made
I generated a headshot with ThePortraitOS and something feels artificial but I cannot name it. Act as a professional retoucher and portrait photographer. Walk me through the diagnostic checklist in order of likelihood: skin texture too smooth or too uniform (plastic look), eyes with inconsistent catchlights or over-sharpened irises, teeth too even or too white, hairline blending errors or painterly hair strands, lighting direction inconsistent between face and background, wardrobe fabric lacking weave texture, and background bokeh that does not match the stated aperture. For each issue, give me the exact prompt adjustment that fixes it in the next generation.
Fix likeness drift from your real face
My generated headshots look professional but do not quite look like me. The differences I notice: [DESCRIBE: E.G. JAW TOO NARROW, EYES WRONG SHADE, NOSE RESHAPED]. Help me correct likeness drift: which reference photos to add or replace to anchor the features that drifted, the prompt language that preserves identity ("maintaining exact facial structure and features of [REFERENCE IMAGE]"), which style parameters commonly distort likeness and should be reduced, and how to evaluate likeness objectively by comparing five fixed points (eye spacing, nose width, jawline, hairline, mouth shape) between reference and output.
Perfect the skin texture pass
Rewrite my headshot prompt to render realistic professional skin. Current prompt: [PASTE PROMPT]. Add precise skin direction: natural skin texture with visible pores at close inspection, subtle unevenness in tone that real skin has, fine expression lines appropriate for age [AGE] retained rather than erased, soft specular highlights on forehead and nose bridge from the key light, no beauty-filter smoothing, no waxy uniform finish. Keep the professional retouched-but-real standard of an actual studio session: flattering but honest.
Match lighting believability across a series
I am generating a series of [NUMBER] headshots that must look like they came from one photo session. Here are my prompts: [PASTE]. Standardize the lighting story across all of them: identical key light direction and height, consistent fill ratio, same background luminance, matching white balance temperature, and identical lens and aperture language. Flag any prompt in my series whose lighting or color description would produce an image that visibly breaks the set, and rewrite it to match the master setup.
Run the final pre-publish quality check
Before I publish this headshot everywhere, run me through the final quality checklist as a skeptical art director: does the expression match my positioning brief or default to generic smile, is the crop right for the primary platform with safe margins for circular avatars, does the image survive at 48-pixel thumbnail size (clear silhouette, readable face), is there any artifact visible at 200 percent zoom (ear edges, hair against background, collar geometry, hand anatomy if visible), and does the image look like me on my best real day rather than a different better-looking person. Give me a pass or fix verdict on each point.
Deploy Your Headshot Everywhere It Works
A finished headshot is an asset that should be systematically deployed. Consistent professional imagery across every touchpoint compounds recognition and credibility.
Create the platform crop and export plan
My final headshot is done. Create the complete export plan for deploying it: LinkedIn profile (400x400 minimum, circular-crop safe), LinkedIn banner coordination, company website bio (specify likely dimensions), email signature (small, under 100px, needs high contrast), conference and press kits (high resolution with headroom), Twitter/X and Instagram profile circles, and internal tools (Slack, Notion, Google Workspace). For each destination specify: crop ratio, minimum resolution, file format, and any adjustment (tighter crop for tiny sizes, more headroom for print).
Write your updated LinkedIn profile to match
My new headshot projects [POSITIONING: E.G. APPROACHABLE SENIOR EXPERT]. Update my LinkedIn presence to match the same positioning: rewrite my headline (220 characters) to carry the same impression the photo creates, adjust my About section opening two lines so photo and copy tell one coherent story, and suggest a banner image concept that complements the headshot colors and mood. My current headline: [PASTE]. My role and focus: [DESCRIBE].
Plan the refresh cycle and variants
Help me plan headshot maintenance so my professional image stays current: how often to regenerate (appearance changes, role changes, style dating), which seasonal or contextual variants are worth keeping on hand (conference season, media appearances, internal vs external), how to store my master prompt and reference set so regeneration takes minutes instead of starting over, and the trigger events that should prompt an immediate update.
Coordinate team headshots in one style
I want my whole team of [NUMBER] people to have matching professional headshots generated with ThePortraitOS. Create the team headshot system: the master style prompt every person uses with only their reference images and wardrobe variable changed, the wardrobe guardrails that keep individuality while maintaining visual consistency (color palette, formality band), the background and lighting spec that makes the set obviously belong together on our team page, and the quality checklist each person applies before submitting their final image.
Repurpose the headshot session into content
I now have a set of professional AI headshots and want to get content value from the process. Draft: a LinkedIn post about upgrading my professional image, written in first person without mentioning specific tools unless asked, focusing on why professional presentation matters in [INDUSTRY]; a before-and-after style post framework if I choose to share the process; and three contexts where the alternate takes from my session (creative, environmental, speaker) can be used to refresh my presence over the next quarter without a new session.
Frequently asked questions
What is ThePortraitOS and how is it different from general AI image tools?+
ThePortraitOS is a dedicated AI headshot and portrait platform. Unlike general image generators, it is optimized for likeness accuracy from your reference photos and professional portrait quality: realistic skin texture, studio lighting behavior, and headshot-appropriate framing. That focus means prompts written in real portrait photography language (lens, lighting, wardrobe, expression) produce noticeably better results than generic descriptions.
How many reference photos do I need for accurate results?+
A reference set with varied angles and consistent recent appearance produces the strongest likeness: front-facing, three-quarter view, a natural smile, and a neutral expression, all in decent lighting without heavy filters. Quality matters more than quantity. A handful of sharp, honest, recent photos beats dozens of filtered or outdated ones.
Will an AI headshot look fake on LinkedIn?+
Not if you refine it properly. The telltale signs of AI headshots are over-smooth skin, perfect teeth, and inconsistent lighting. The refinement stage in this package targets each of those directly: adding natural skin texture, keeping age-appropriate expression lines, and standardizing the lighting story. A well-refined AI headshot is indistinguishable from a professional studio session at typical display sizes.
The most popular prompts in theportraitos headshot prompts: professional ai headshots that look real
Other prompt packages you might like
AI Prompts for AI LinkedIn Headshot Generation
A weak LinkedIn photo costs you interviews, deals, and credibility before you say a word.
See promptsAI Prompts for ChatGPT Headshot Prompts: Professional AI Headshots with Conversational Editing
ChatGPT generates professional headshots from an uploaded photo and, unlike most image tools, lets you refine the result conversationally: change the lighting, swap the blazer, soften the smile, all in plain language across a single session.
See promptsAI Prompts for Nano Banana Image Prompts: Photorealistic Portraits and AI Photography
Nano Banana (Google's Gemini image generation model, also known as Imagen 3) produces some of the most photorealistic portrait and product photography available from any AI image tool.
See prompts